This is a step by step article on how to get started with Matomo analytics on WordPress.
This guide is literally being written as I go through each step, while lying in bed on a Thursday night after finishing off a newsletter.
It started with me wondering if my recent return to writing on this blog increased the referral traffic to the site. Every time I publish a post it automatically posts a link to Twitter and to LinkedIn, another bonus of using JetPack.
When I looked at Google Analytics on my phone I realised that after switching the theme for this site I forgot to add the analytics code back on the site. Damnit.
To be honest I hardly ever check GA for this site, maybe three or four times a year, so I figured what’s the point in giving more free data to Google when I can own the data myself. I’ve been wanting to try out Matomo or Fathom for a while and now a my chance.
Step 1 : Duck duck go
My first step was to search how this could be done using a self hosted Digital Ocean droplet. The top result was https://matomo.org/docs/installation/ which looked to be what I was after, but weighing up the set up and configuration of a droplet on a phone vs going with the cloud option, I leaned towards the cloud.
Step 2 : sign up to Matomo cloud
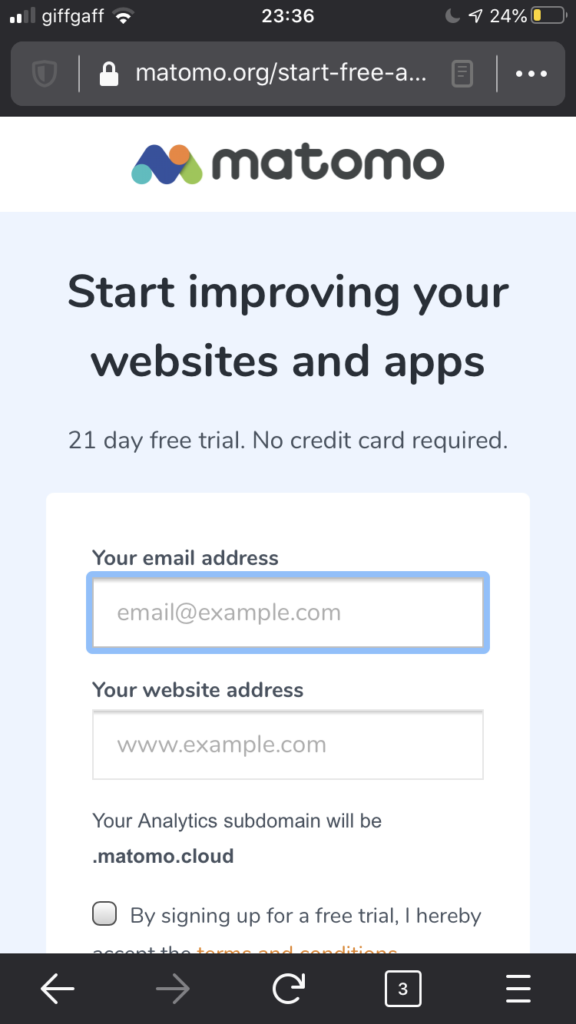
I ended up on https://matomo.org/start-free-analytics-trial/ which provides 21 days free access to the cloud with the option to switch over to a self hosted version if I decided to at a later date.
I’m a little annoyed that after signing up they sent the username and password in plain text to my email address.
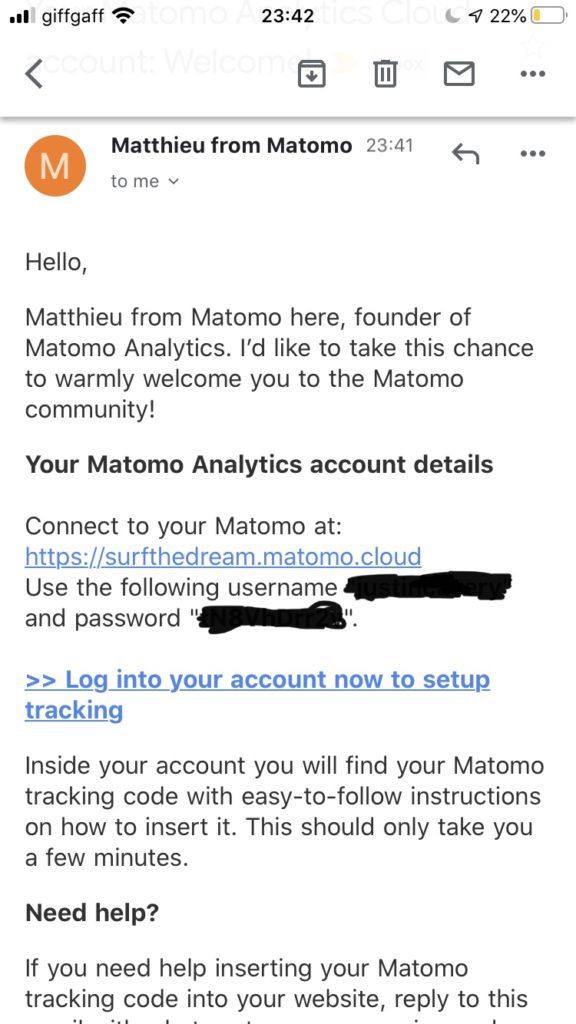
After confirming the account by logging in with those details I chose the quick start WordPress option.
Step 3 : Install the WordPress Plugin
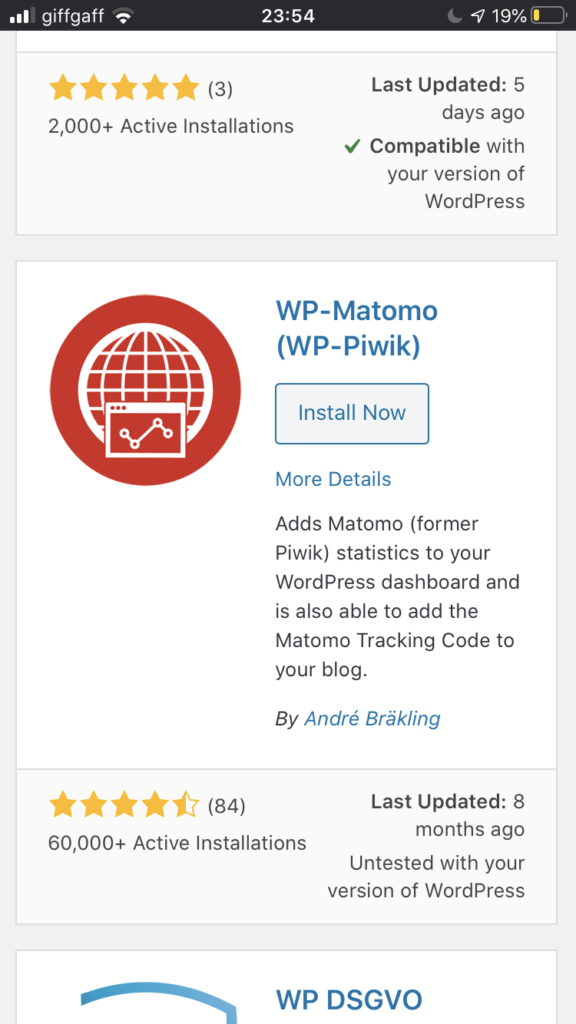
At this point I realised there were two plugins for the Matomo analytics. One the plugins installs the Matomo analytics platform as part of your WordPress install (free), and the other uses an existing implementation or a cloud version and pulls data through the API.
Now that I’m aware of the two options I’ll go back and do the full WordPress install, but we’ve started this now so we’ll see implementation of the cloud hosted version through.
Just to clarify
- Matomo Analytics – installs Matomo Analytics onto the same server that you’re running wordpress. There are some technical requirements for this (version of PHP, enough memory for it to run etc.)
- WP-Matomo – links to an existing implementation or cloud hosted version of Matomo Analytics (this is the version I’m using as part of this tutorial).

Once you have downloaded, installed, and activated the WP-Matomo plugin you can go to the settings page and configure the options.
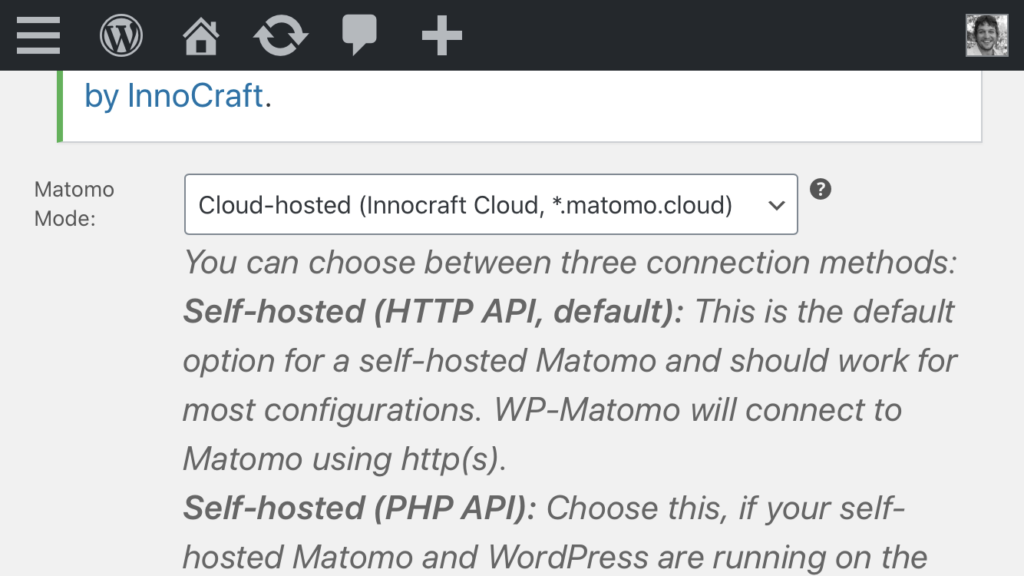
Step 4 : Configure the Matomo WordPress Plugin Options
The mode you want to choose for this particular approach is Cloud-hosted (Innocraft Cloud, *.matomo.cloud).
Next you need to put in your subdomain you chose during the cloud setup (I chose surfthedream.matomo.cloud) and include your Auth token.
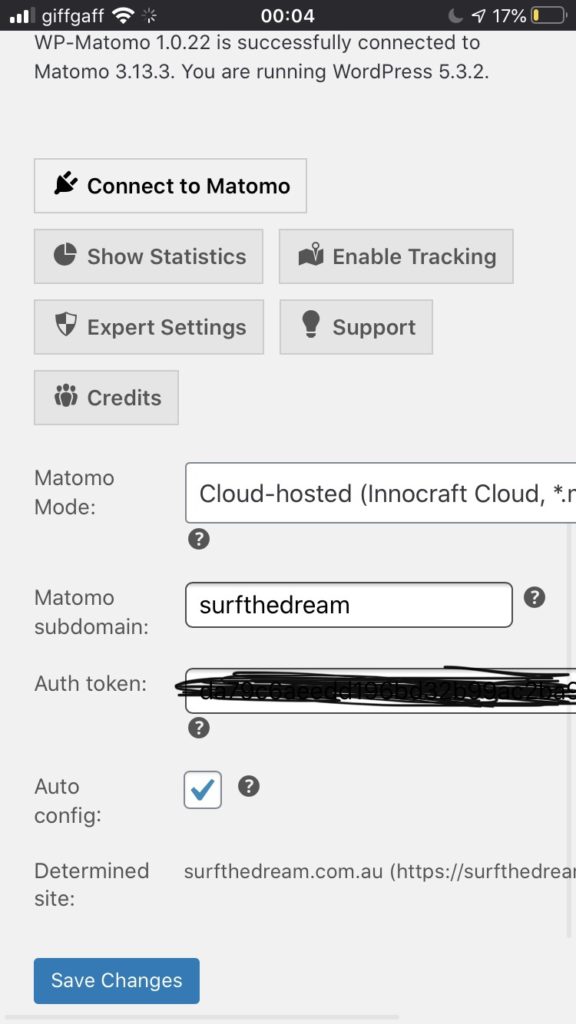
It took me a minute to find the API key (Auth Token) on mobile, but it was hiding along side my account information (where I also reset my password. You don’t have to reset your password but as it was sent to me on email in plain text it’s good practice to do so. If you have issues with managing passwords try out 1Password or Lockwise from Mozilla).
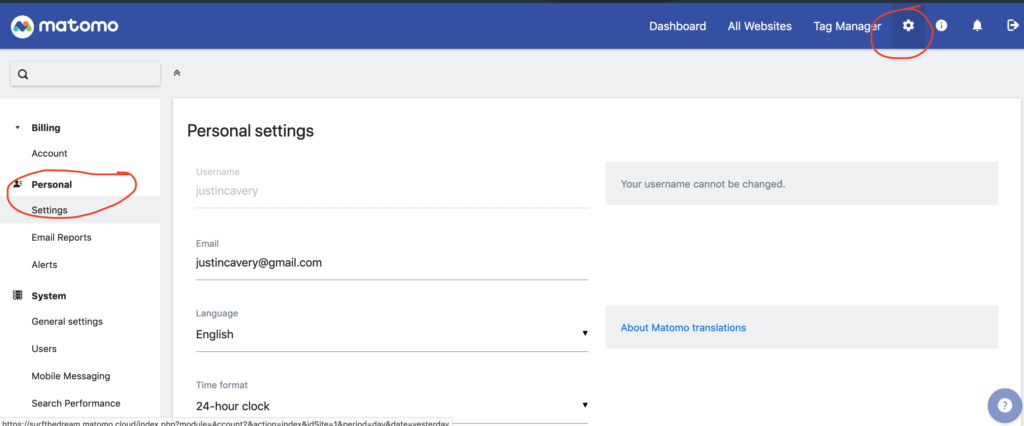
On Desktop it’s a bit easier to find – Gear Icon (top right) > Personal > Settings > API Authorisation (bottom of the page)
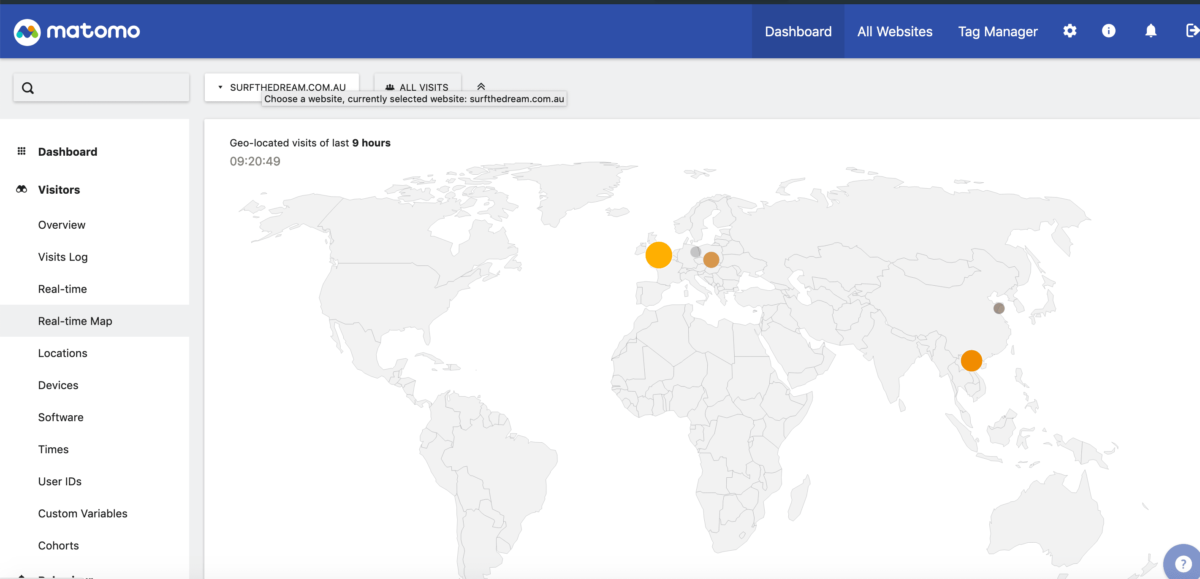
Once I saved the changes it was done, and I can only presume is capturing your very visit to this site right now… but I was wrong.
Okay, so that wasn’t all. See that Enable Tracking button? Click that, set tracking to on and it to use default tracking.
Nooooooowwww I’m tracking you on this site ;)
If you paid attention to my screenshots you’ll notice that from start to finish this took less than 30 minutes and 7% battery all done while laying in bed.